Scratch Built Slot Car Land Rover II - Page 1
I have been thinking about doing this model for a while. Here are some pictures and explanation of what I did. If I haven't explained it well enough, e-mail me with your question.
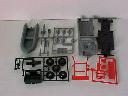
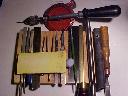
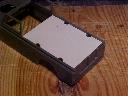
The parts in the original kit. The metal axles were missing, but this was not important |
 |
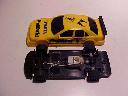 |
Body and chassis from donor slot car (Scalextric car C699 AMG Mercedes C-Class "ProMarkt"). |
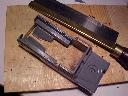
Land Rover body from plastic kit next to donor slot car chassis. This chassis was chosen as it has the correct wheelbase for the Land Rover. |
 |
 |
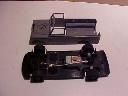
Component parts placed together, without glue, to work out which areas of plastic should be removed. |
 |
When trial fitting parts, they can be held together with Blu-Tack. |
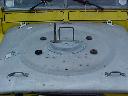
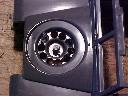
Removing extra (high up) weight from the bonnet. I also removed excess material from the spare wheel. |
 |
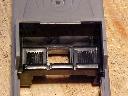 |
Material removed from interior to make space for the motor. |
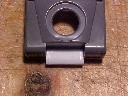 |
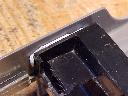
New scratch built front apron to accept the chassis mounting screw. The picture also shows the bonnet with all the excess plastic removed. |
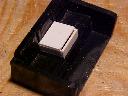
Rear body mounting point made from two pieces of sheet styrene (the second has not been glued on yet). Then a small hole was drilled to accept the chassis mounting screw. |
 |
 |
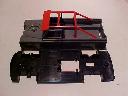
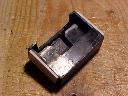
New cover for pick up bed. The holes have been cut out to allow the roll cage to be glued in. |
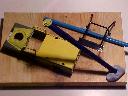 |
Painting the parts, with the aid of Blu-Tack and pencils to hold the small parts or parts that are hard to hold. |
Finished Land Rover SlotcarClick on the picture on the right to see the final results. |
 |

